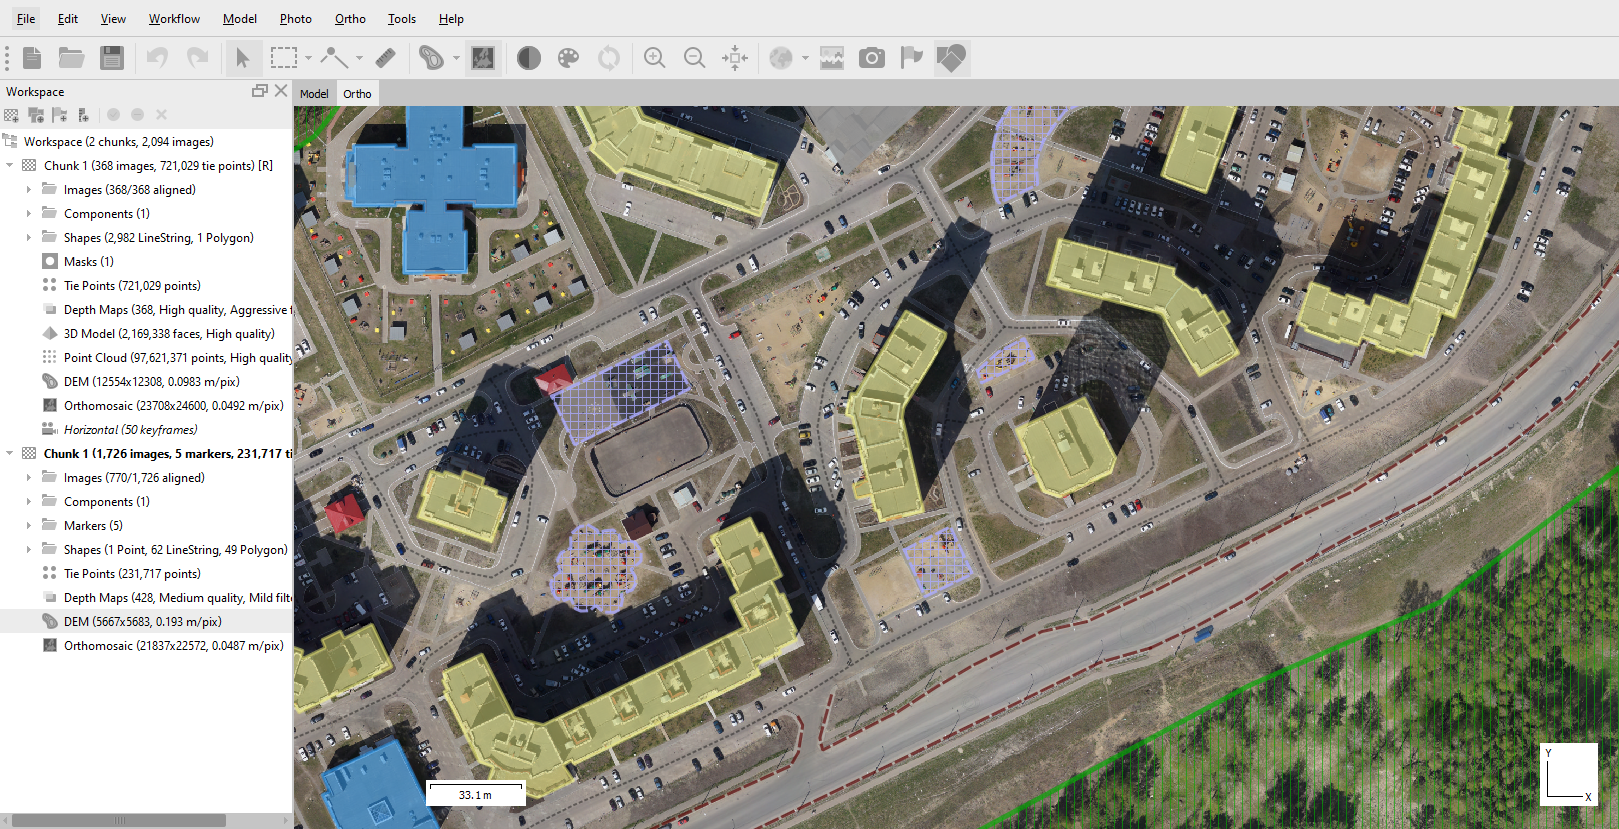
This article explains how to create a project in Agisoft Metashape. Before creating a project, it is important to install and activate the program.
You can find more detailed steps for installation and activation procedure in our articles:
How to install Agisoft Metashape
Node-locked license activation
(Metashape 2.x) Floating license activation
The article describes the following stages in the process of creating a project:
- Create a project
- Save project (PSX and PSZ formats)
- Сreate a project if another one is open
- How to add another project to an existing one.
Please note, that there are two editions of Agisoft Metashape: Professional and Standard. You can find the comparison table here: http://www.agisoft.com/features/compare/
Create a project
When you open the program, you immediately get a window in which you can start processing (below examples of the working window for Pro and Standard):
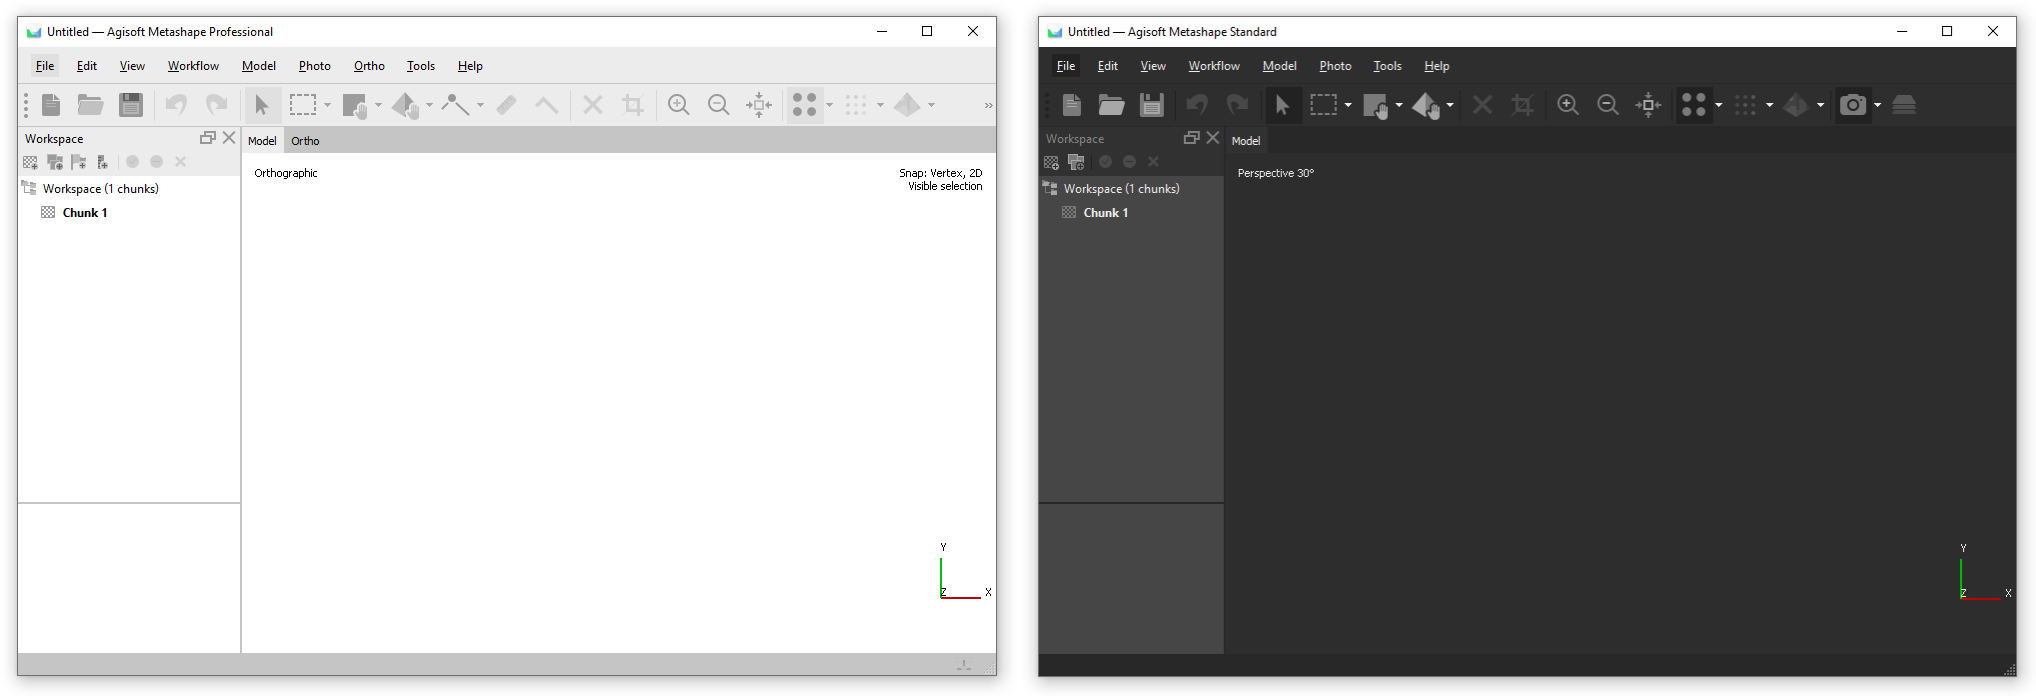
This window is the starting point for working with the project. After that, you can add your data, for example - images and continue processing. To add images you need to use Worfklow > Add Photos command.
Sample data sets are available on our website - https://www.agisoft.com/downloads/sample-data/
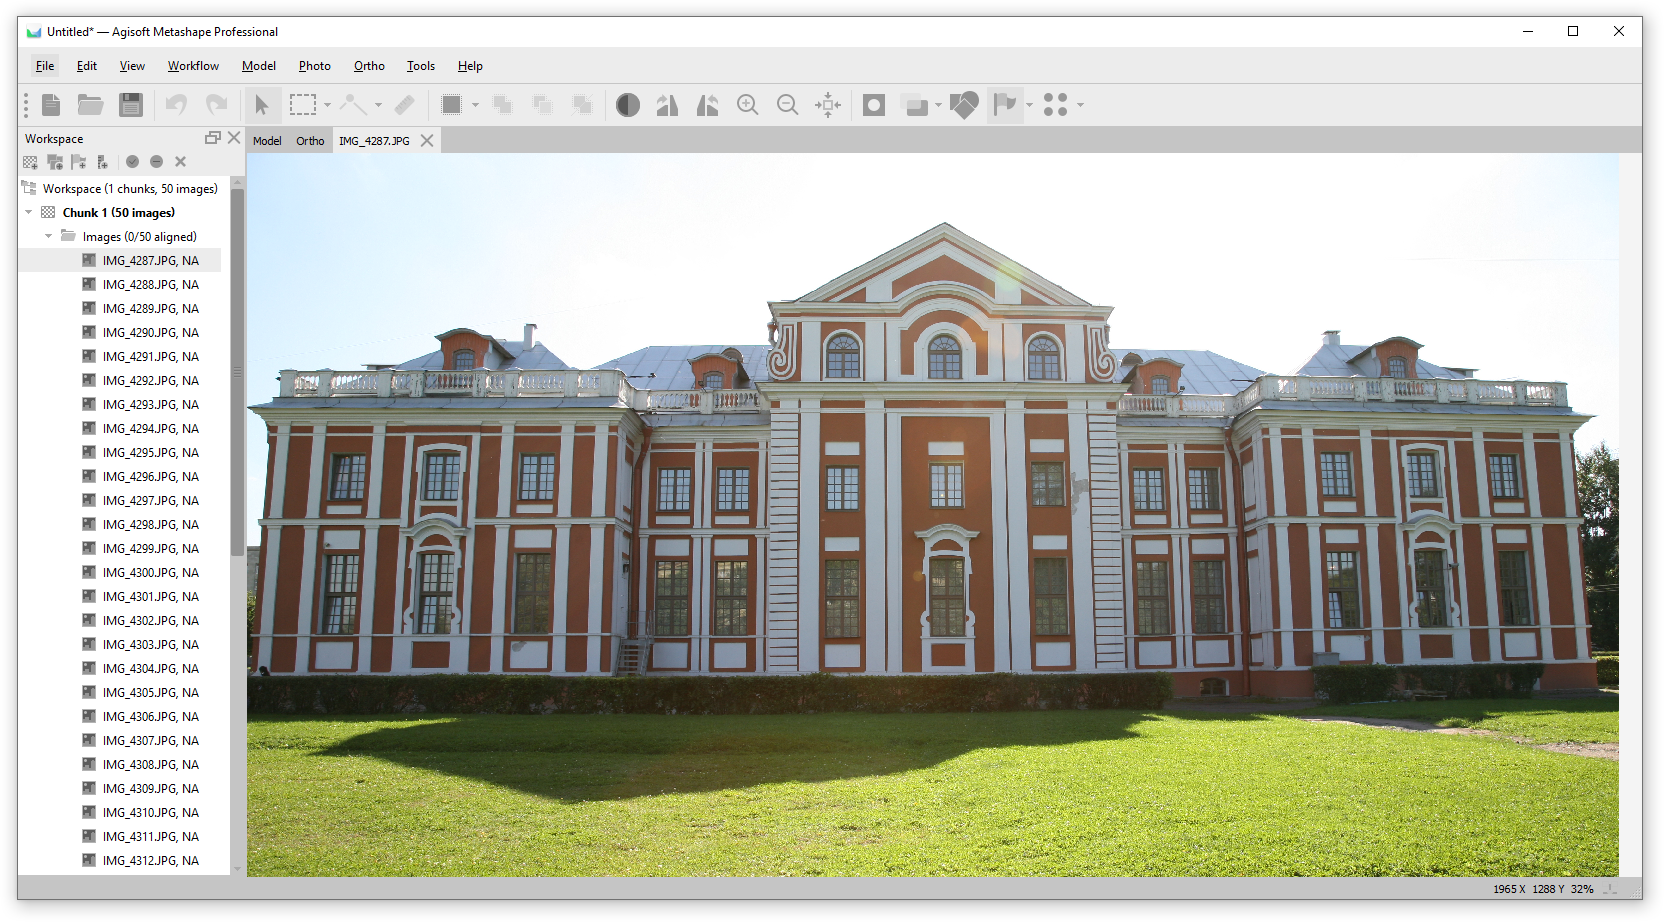
Examples of images and LiDAR processing are described in our articles:
3D model reconstruction
Aerial laser scans data processing
Save project (PSX and PSZ formats)
You can save this project using File > Save or File > Save as.... commands. You can save the project in PSX and PSZ formats.
PSX (Metashape Project file)
This format enables responsive loading of large data (point clouds, meshes, etc.), thus avoiding delays on reopening a thousands-of-photos project. DEM, orthomosaic, panorama and tiled model generation options are available only for projects saved in PSX format.
Please note that *.psx format stores the links to the processing results in *.psx file and the data itself in *.files structured archive. I.e., when copying a project, it is very important to copy the *.psx file and the *.files folder. Without the *.files folder, you won’t be able to open the project.
PSZ (Metashape project archive)
Metashape Archive files (*.psz) may contain the following information:
• List of loaded photographs with reference paths to the image files.
• Camera alignment data such as camera exterior orientation parameters , tie point cloud and set of refined camera calibration parameters for each calibration group.
• Masks applied to the photos in project.
• Depth maps for cameras.
• Point cloud with information on points classification.
• Reconstructed 3D polygonal model with any changes made by user. This includes model and texture if it was built.
• List of added markers as well as of scale-bars and information on their positions.
• Structure of the project, i.e. number of chunks in the project and their content.
Сreate a project if another one is open
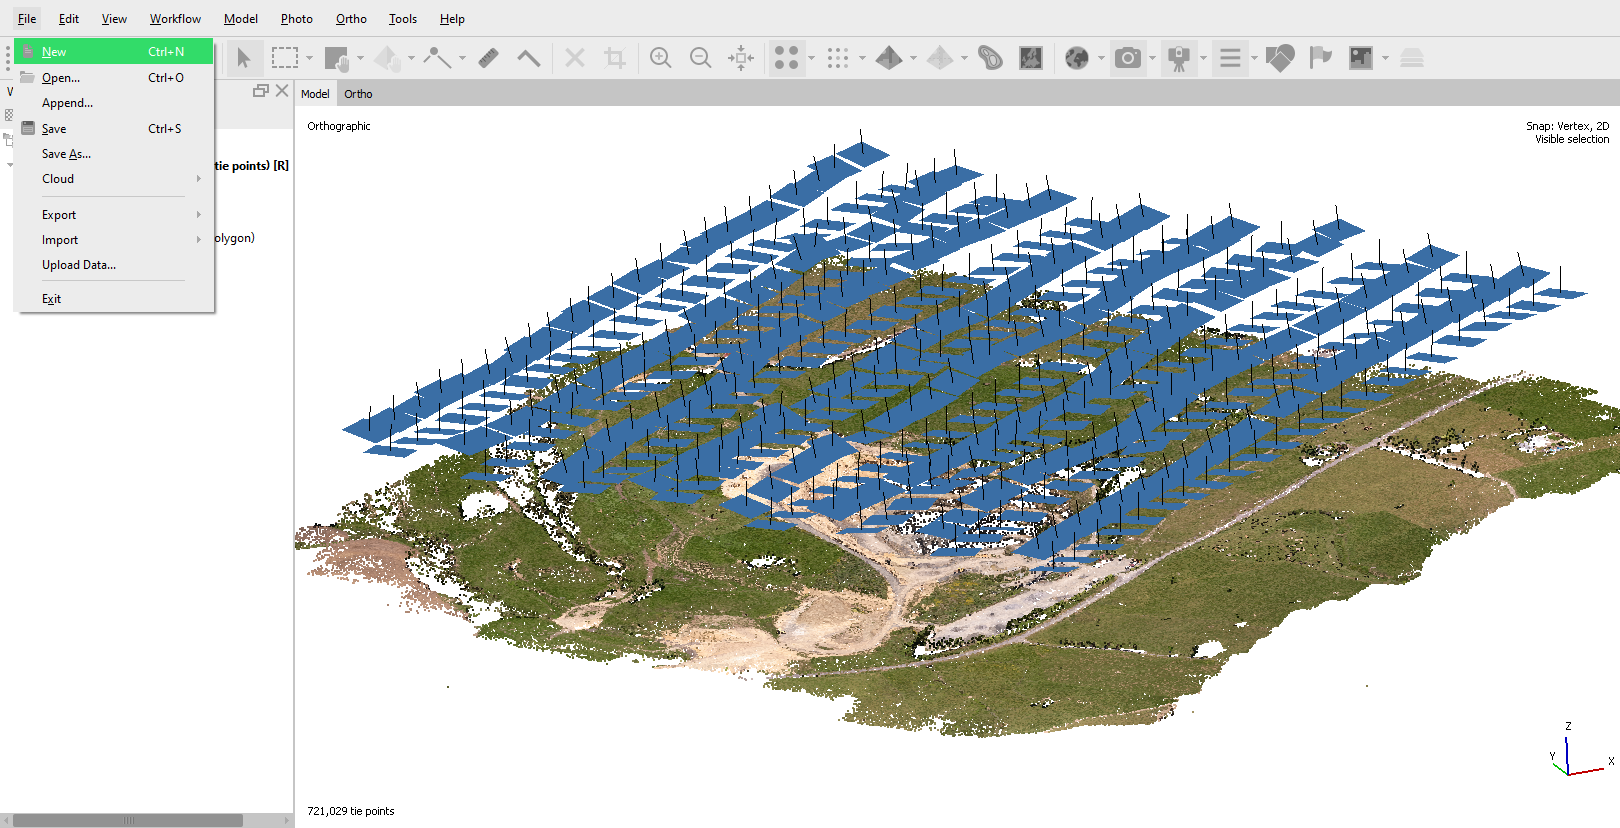
If you want to create a new project. But at the same time, another project is open in your workspace, you need to select File > New:
How to add another project to an existing one.
You can also always add a project saved in another file to your working project. To do this, select File > Append:
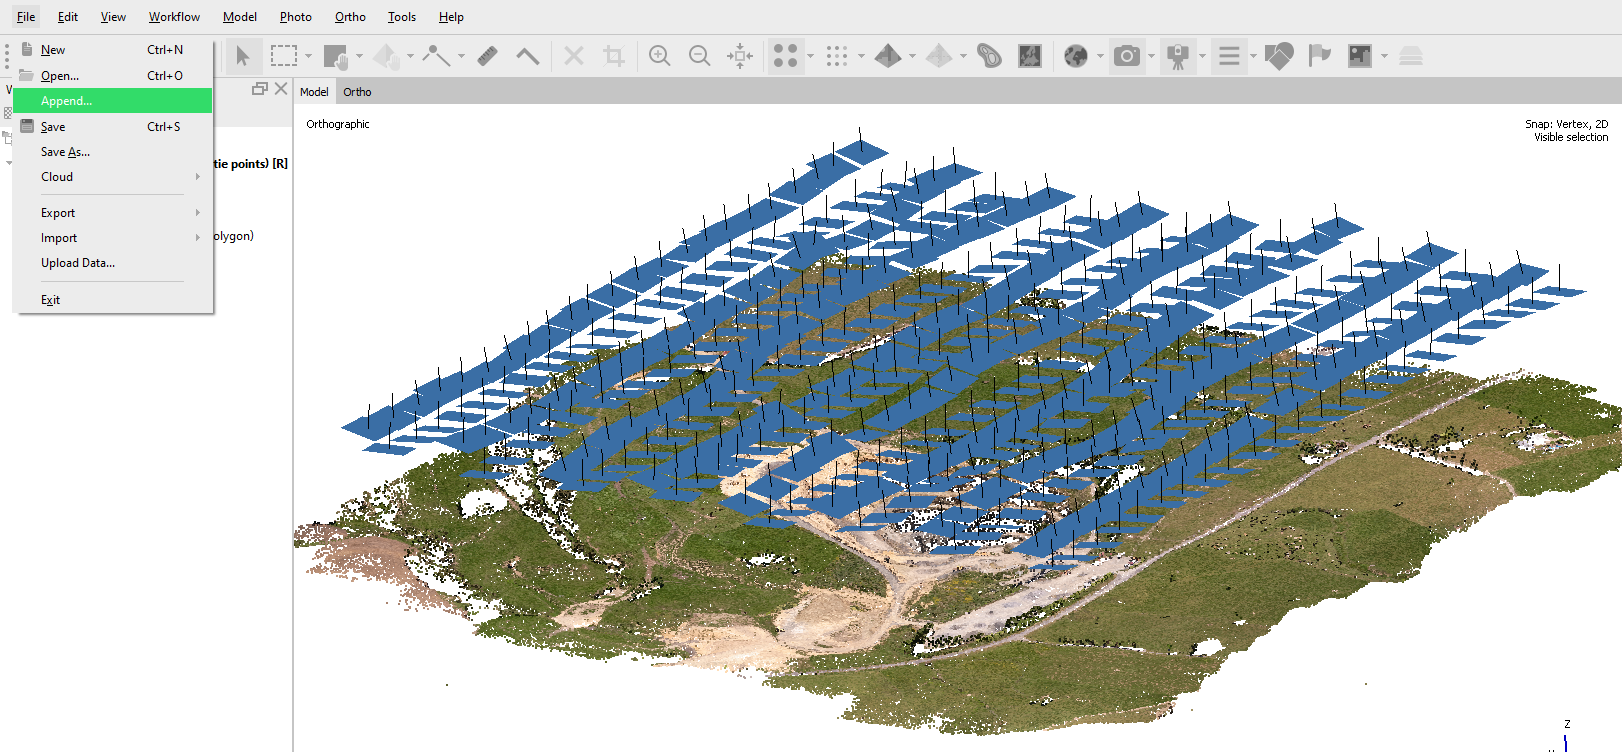
The project will be added to the new chunk: