
Metashape settings are available in the Metashape Preferences dialog window. To change the default program settings for your projects select Tools > Preferences... (on macOS select Preferences... command from the MetashapePro menu).
Preferences for Metashape Pro
The following settings are available in the Metashape Preferences dialog window:
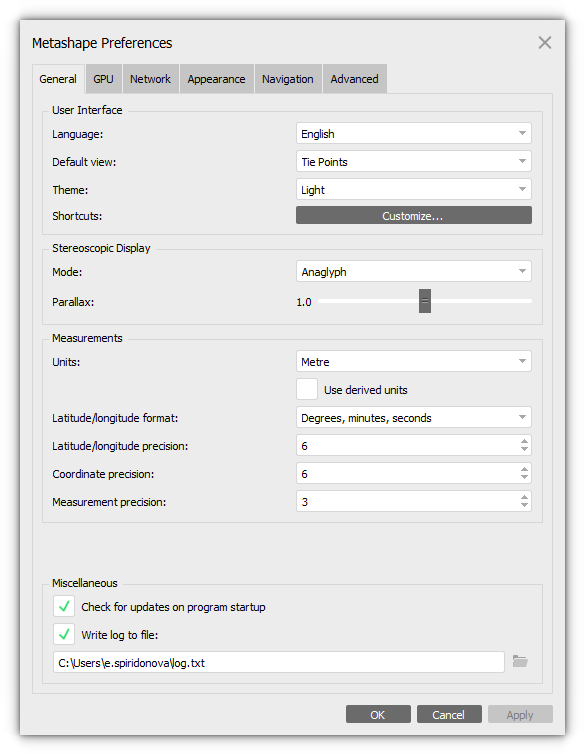
General tab
The GUI language can be selected from the available list: English, German, Spanish, French, Italian, Japanese, Korean, Portuguese, Russian, Chinese.
The GUI appearance can be set in the Theme, the available options are Dark, Light and Classic. The theme set by default in Metashape Professional edition is Light.
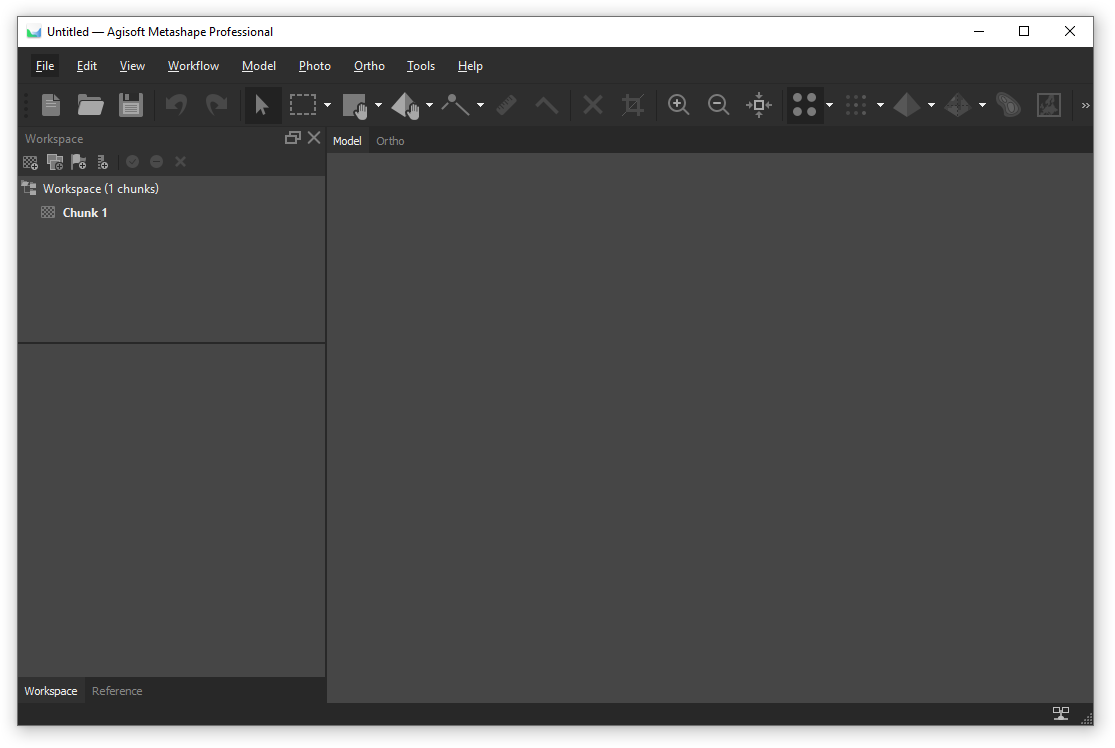 | 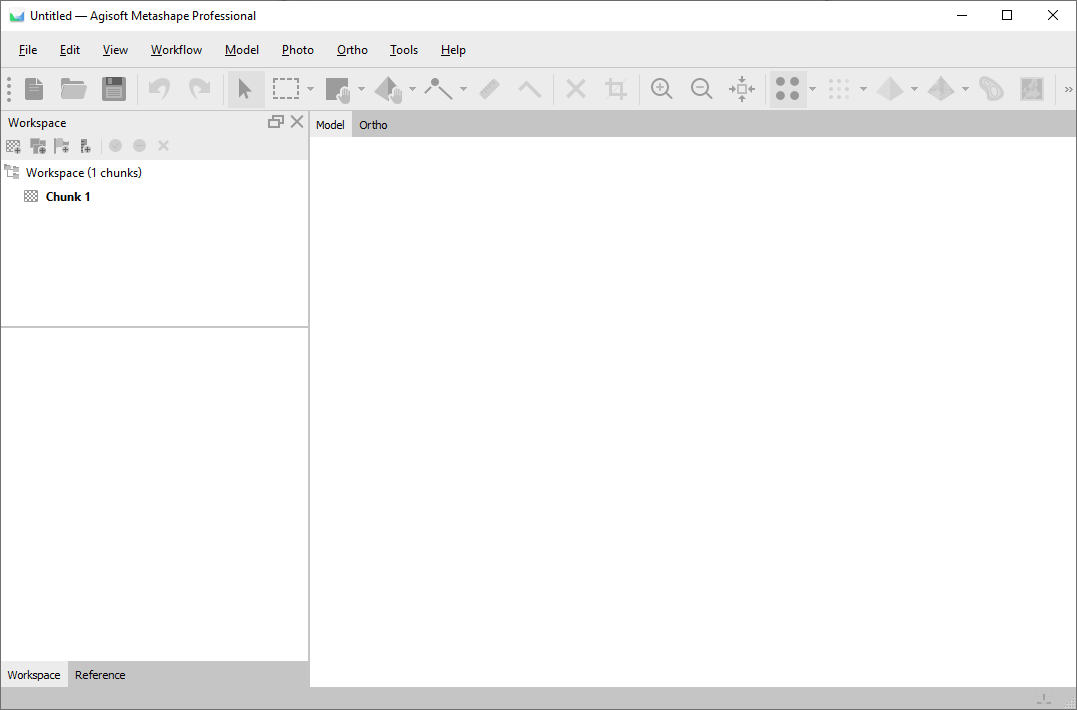 | 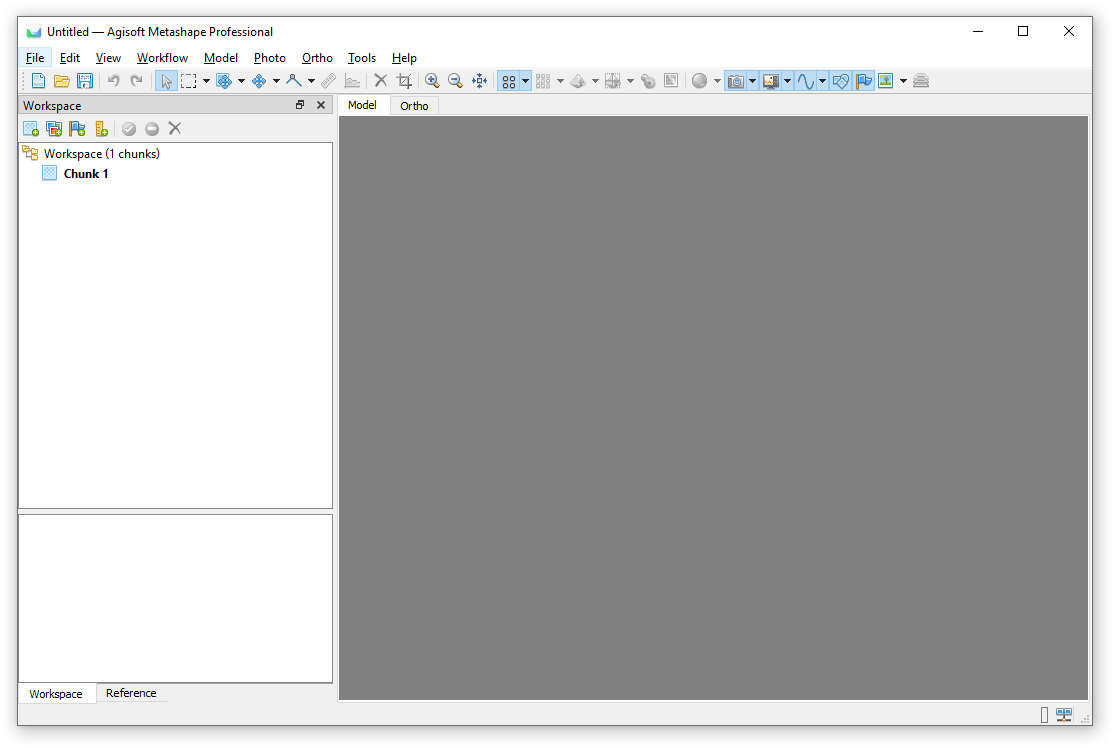 |
Dark | Light | Classic |
The representation of the project can be selected from the Default view list. This parameter indicates how the project is first represented when opened in Metashape. The available options are: Tie points, Point cloud, Tiled model or Model.
We recommend setting Tie points for Default view, as opening a very large project may make it difficult to open the project if the computer doesn’t have enough memory.
The preferable Units, that will be used in the project for all measurements can be set in the Measurements section. To enable stereo mode in Metashape, select the appropriate Stereoscopic Display mode. Shortcuts for the menu and GUI commands can be adjusted via Customize... button.
It is possible to indicate the path to the Metashape log file, that can be shared with Agisoft support team in case any problem arises during the data processing in Metashape.
GPU tab
Metashape exploits GPU processing power that speeds up the process significantly. The list of all detected GPU devices is presented on the GPU tab. To use GPU during Metashape processing enable available GPU(s). The option to use CPU can also be selected on this tab.
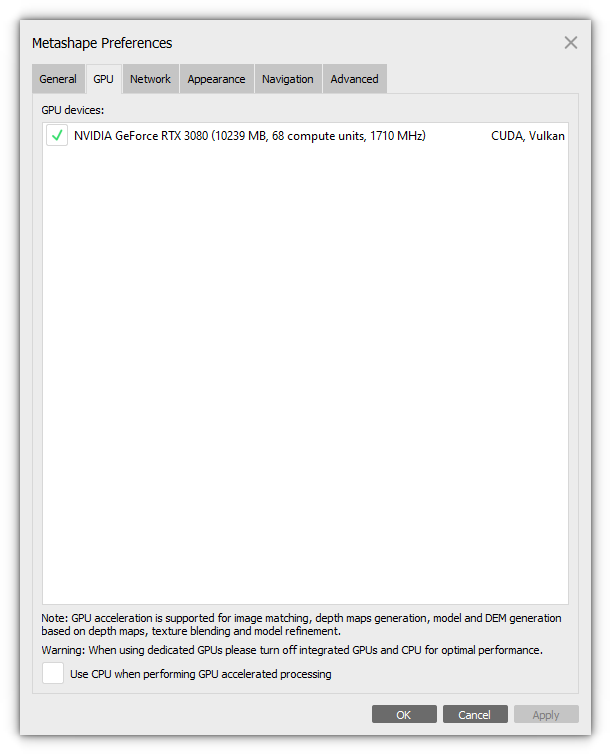
Please check our articles about hardware recommendations and GPU tab:
Hardware recommendations
General information related to GPU processing
Network tab
This tab includes settings related to network and cloud processing: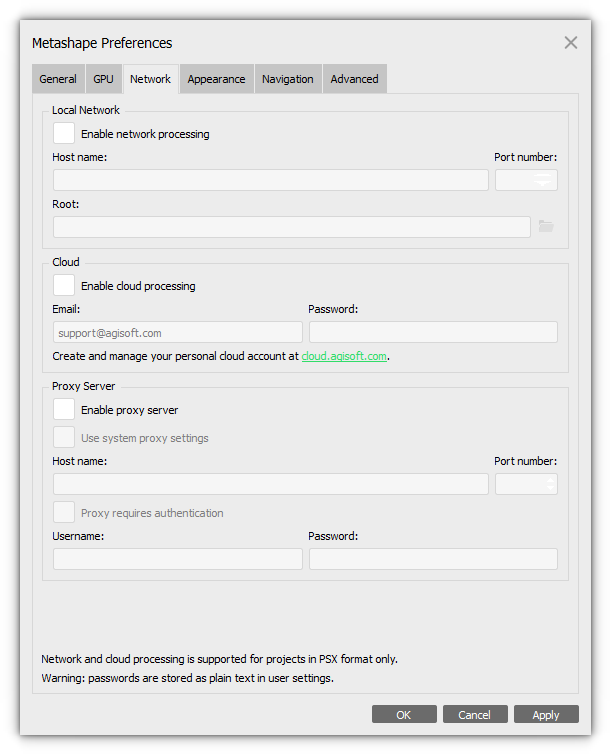
To enable Network processing the corresponding option should be selected. For additional information about Network processing in Metashape see Local network processing chapter. To enable cloud processing the corresponding option should be selected.
Configuring the cloud processing via Agisoft Cloud is described in - How to process a project in the cloud.
Appearance tab
Customization of the interface elements is available on the Appearance tab.
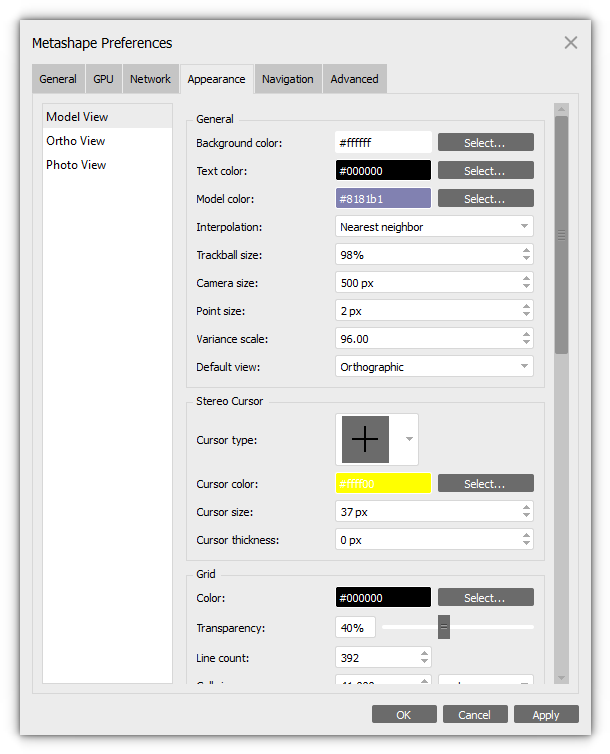
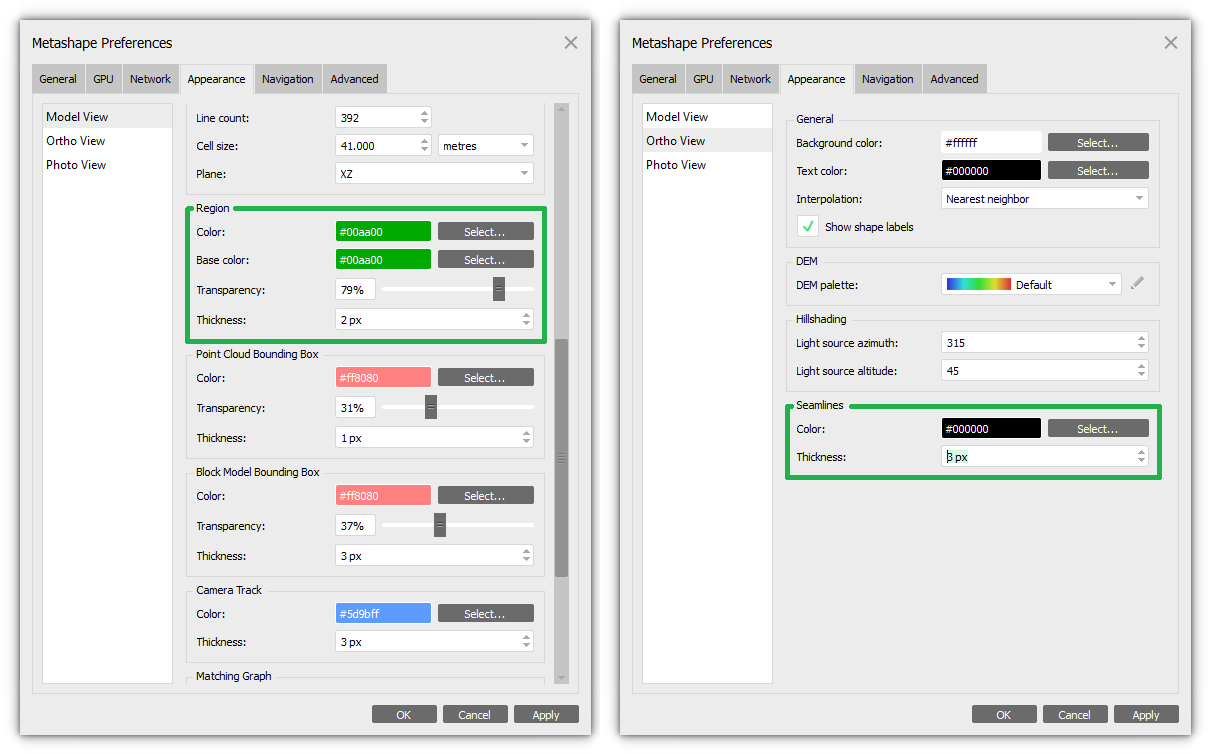
For example, it is possible to change the background color and parameters for the bounding box in the Model view, set color and thickness for seamlines in Ortho view and etc:
Navigation tab
On this tab the parameters of the 3D controller can be adjusted:
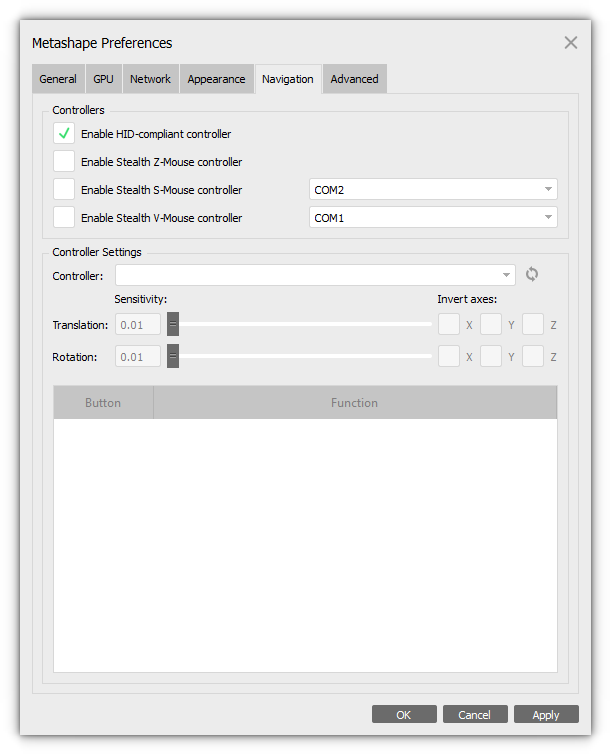
We can offer our articles about 3D controller and the settings in Metashape:
3D Spacemouse controller
Setting up a Stealth3DMouse controller
Advanced tab
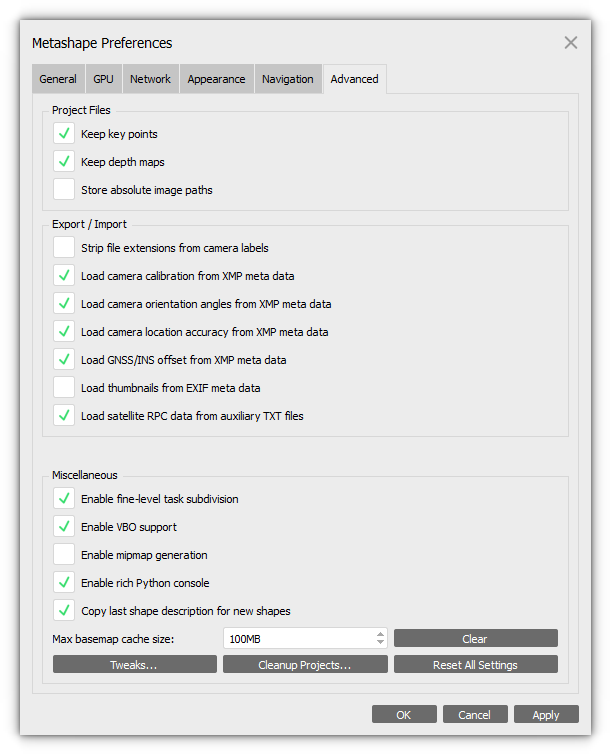
Keep depth maps option helps save processing time in cases when the point cloud needs to be re-built (for a part of the project) after its initial generation or when both model and point cloud are based on the same quality depth maps.
Advanced tab allows to switch on such advanced features as for example rich Python console.
To load additional camera data from XMP (camera calibration, camera orientation angles, camera location accuracy, GNSS/INS offset) enable the corresponding options on this tab.
Turning on Enable VBO support speeds up the navigation in the Model view for point clouds and high polygonal meshes.
Fine-level task subdivision option allows for internal splitting of some tasks to sub-jobs, thus reducing the memory consumption during processing of large datasets. The tasks that support fine-level distribution are: Match Photos, Align Cameras, Build Depth Maps, Build Point Cloud, Build Tiled Model, Build DEM, Build Orthomosaic and Classify Points.
Metashape allows for incremental image alignment, that can be useful in case of some data missing in the initially aligned project. If this may be the case switch on Keep key points option before the initial processing of the data is started (see Aligning photos and laser scans section).
Preferences for Metashape Standard
The following settings are available in the Metashape Preferences dialog window:
General tab
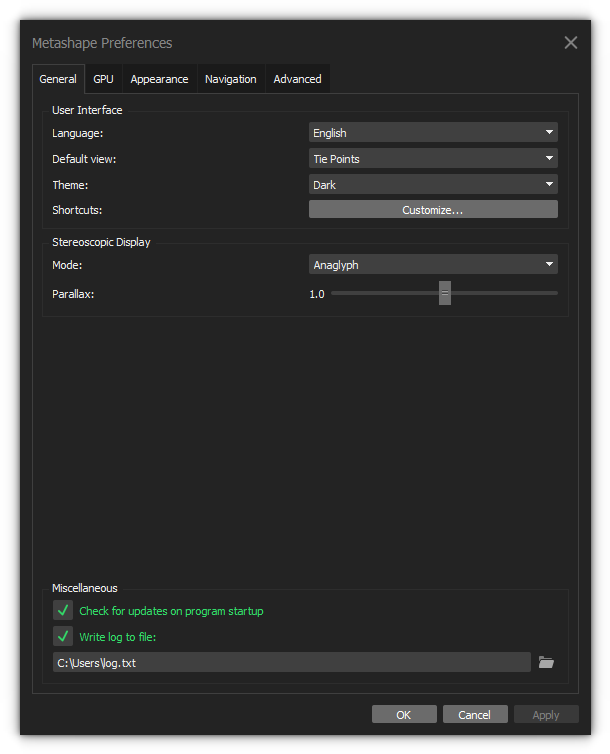
The GUI language can be selected from the available list: English, German, Spanish, French, Italian, Japanese, Korean, Portuguese, Russian, Chinese.
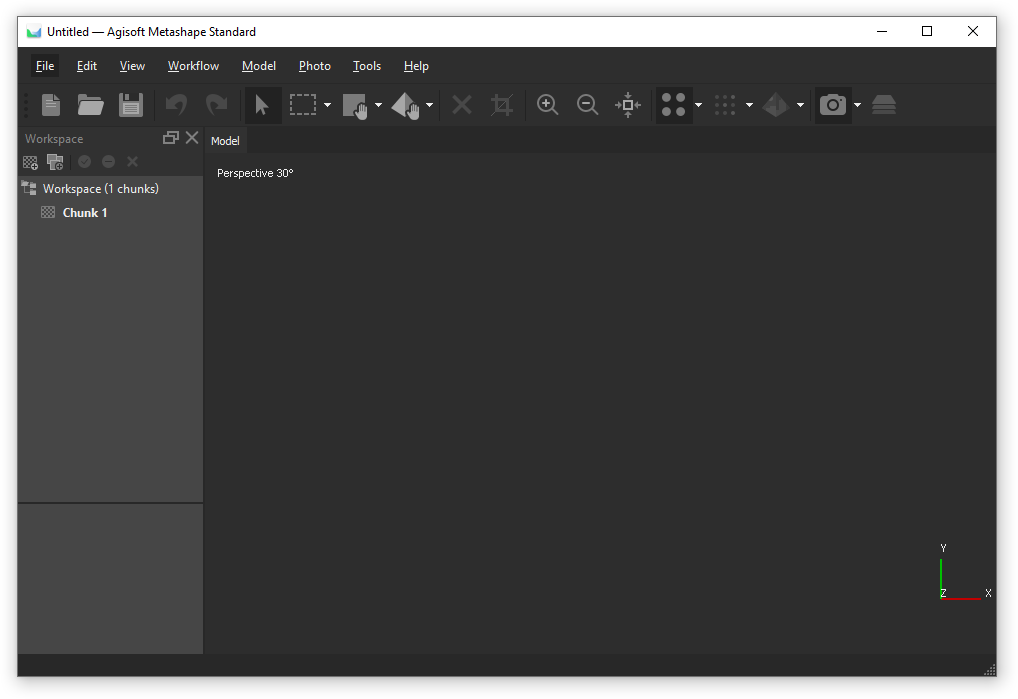
The GUI appearance can be set in the Theme, the available options are Dark, Light and Classic. The theme set by default in Metashape Standard edition is Dark.
 | 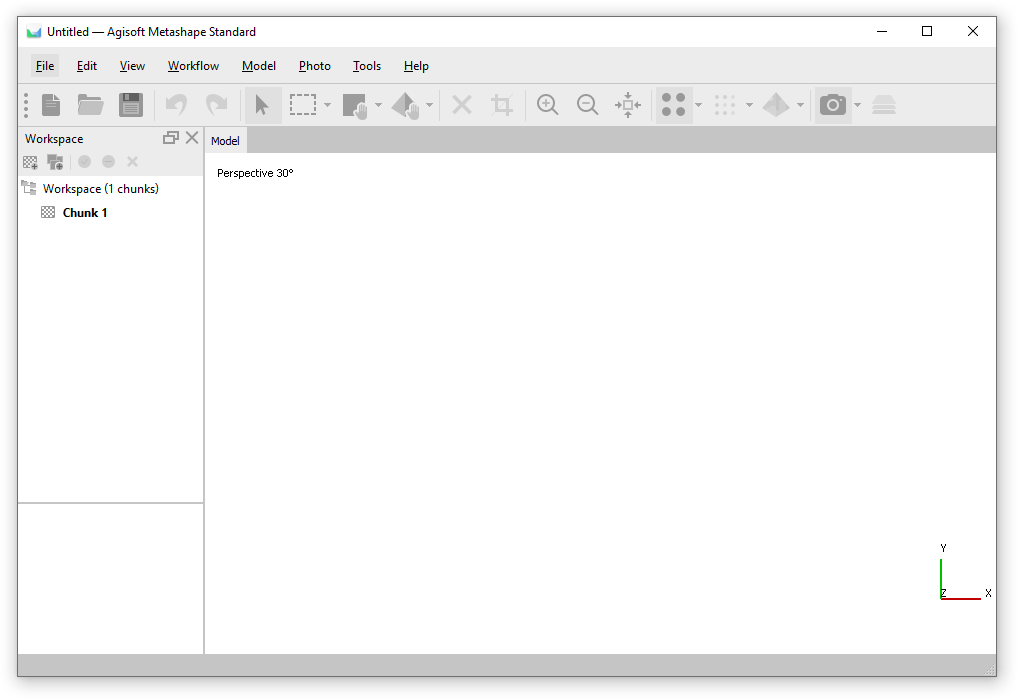 | 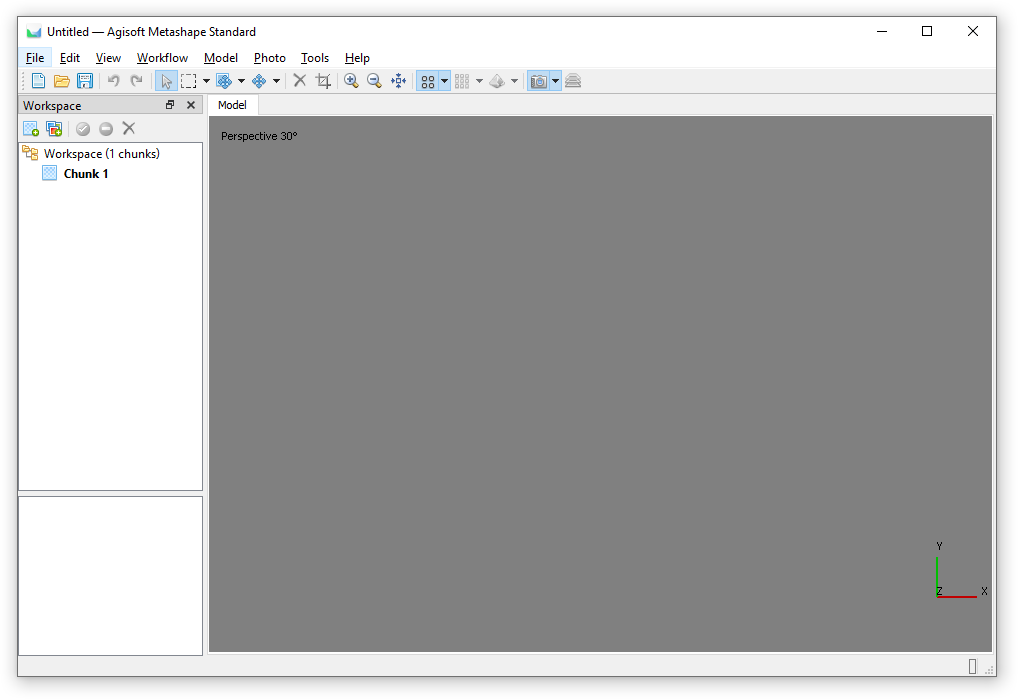 |
Dark | Light | Classic |
The representation of the project can be selected from the Default view list. This parameter indicates how the project is first represented when opened in Metashape. The available options are: Tie points, Point cloud or Model. We recommend to use Tie points.
To enable stereo mode in Metashape, select the appropriate Stereoscopic Display mode. Shortcuts for the menu and GUI commands can be adjusted via Customize... button.
It is possible to indicate the path to the Metashape log file, that can be shared with Agisoft support team in case any problem arises during the data processing in Metashape.
GPU tab
Metashape exploits GPU processing power that speeds up the process significantly. The list of all detected GPU devices is presented on the GPU tab. To use GPU during Metashape processing enable available GPU(s). The option to use CPU can also be selected on this tab.
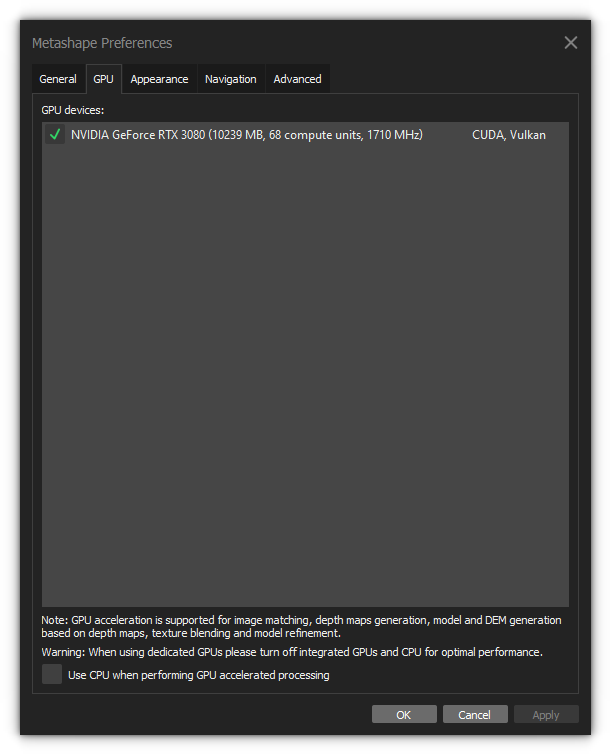
You can find more information about this option in our article - General information related to GPU processing
Appearance tab
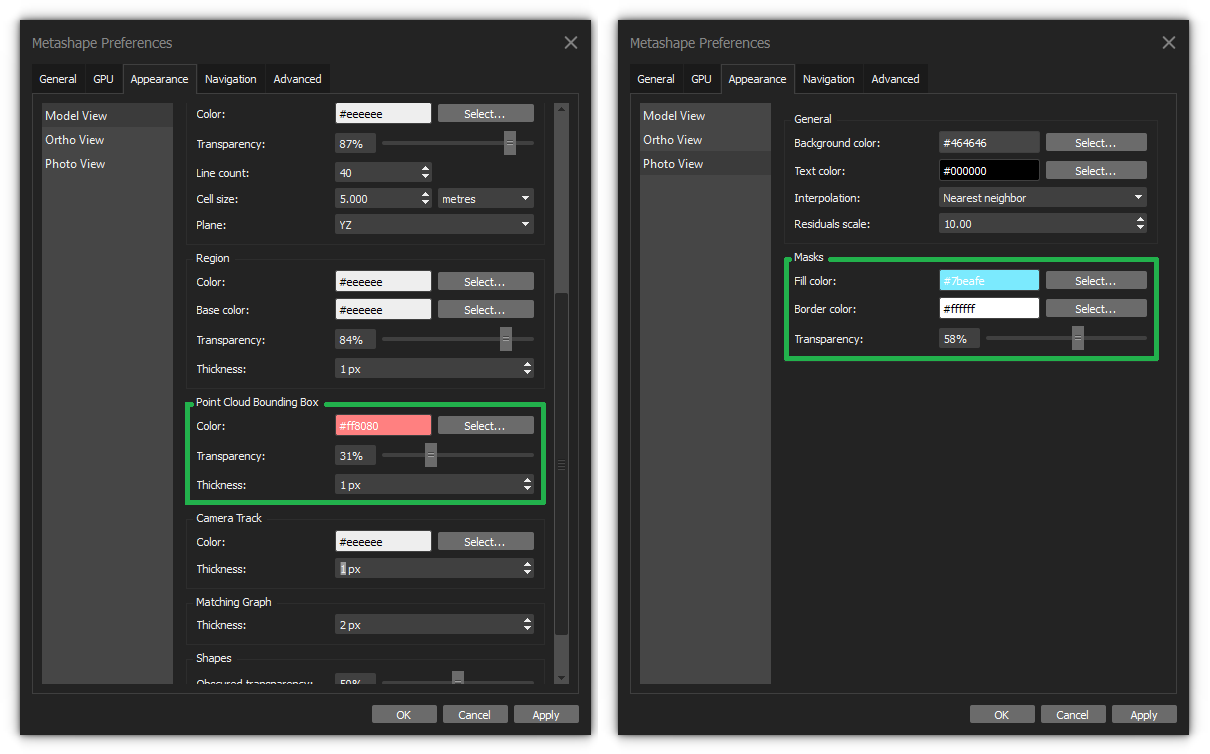
Customization of the interface elements is available on the Appearance tab. For example, it is possible to change the background color and parameters for the point cloud bounding box in the Model view, change the settings for displaying masks in Photo view and etc:
Navigation tab
On this tab the parameters of the 3D controller can be adjusted.
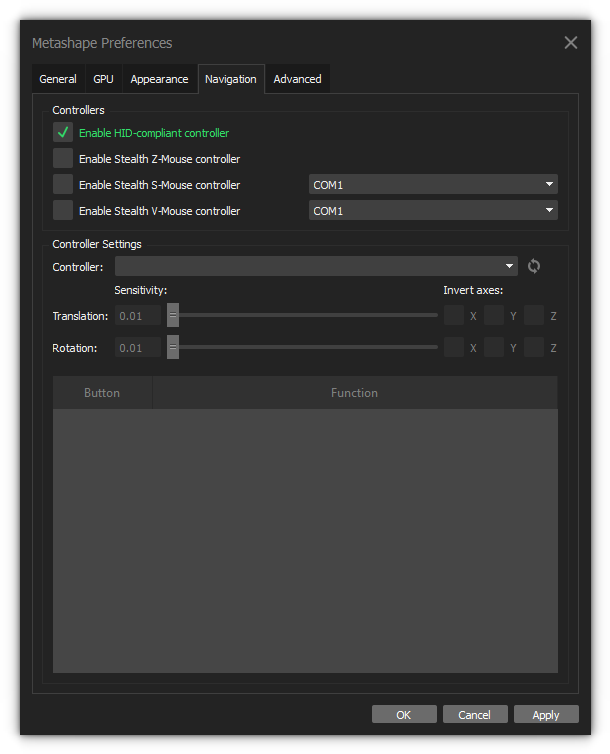
We can offer our articles about 3D controller and the settings in Metashape:
3D Spacemouse controller
Setting up a Stealth3DMouse controller
Advanced tab
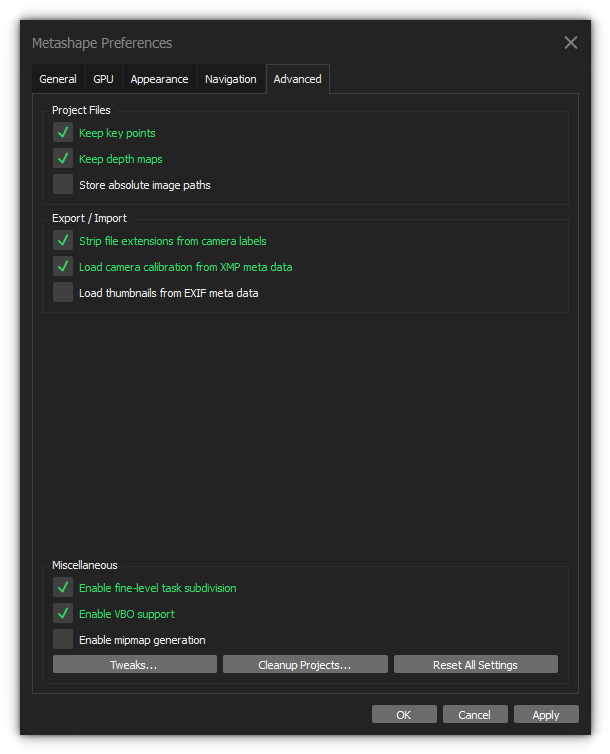
To load additional camera data from XMP (camera calibration) enable the corresponding options on this tab.
Keep depth maps option helps save processing time in cases when the point cloud needs to be re-built (for a part of the project) after its initial generation or when both model and point cloud are based on the same quality depth maps.
Turning on Enable VBO support speeds up the navigation in the Model view for point clouds and high polygonal meshes.
Fine-level task subdivision option allows for internal splitting of some tasks to sub-jobs, thus reducing the memory consumption during processing of large datasets. The tasks that support fine-level distribution are: Match Photos, Align Cameras, Build Depth Maps, Build Point Cloud.
Metashape allows for incremental image alignment, that can be useful in case of some data missing in the initially aligned project. If this may be the case switch on Keep key points option before the initial processing of the data is started (see Aligning photos section).