
This tutorial describes the image matching parameters Apply masks to Key/Tie points and describes the cases, where Tie point masking may be reasonable.
I.e. masks are already in the project and were created or imported before alignment. You can find an example of creating masks in Metashape in the Masking section.
Select Workflow > Align Photos:
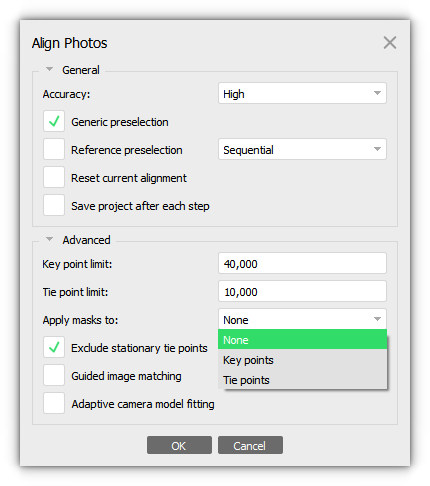
- If Apply masks to Key points selected - masked areas are excluded from feature detection procedure independently for each photo. Usually, such projects have masks for all images. For example, as in the project from the article - Automatic masking from the model:
- If Apply masks to Tie points selected - certain tie points are excluded from the alignment procedure. Effectively this implies that if some area is masked at least on a single photo, relevant key points on the rest of the photos picturing the same area will be also ignored during the alignment procedure (a tie point is a set of key points that have been matched as projections of the same 3D point on different images). This can be useful to suppress background in turntable-like shooting scenarios with few or even with a single mask. Two examples of difficult for alignment turntable-like datasets will be discussed below:
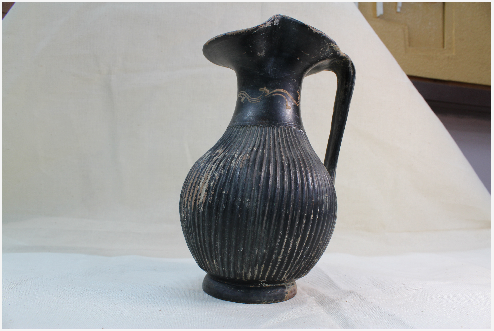
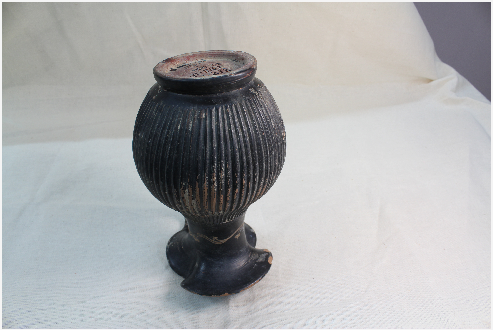
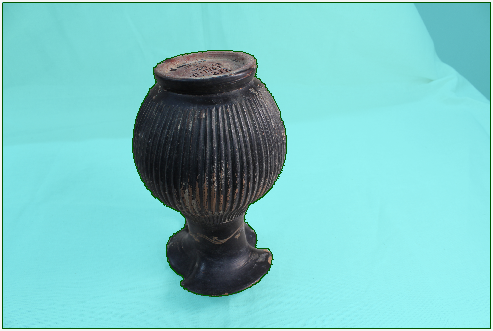
Project - Oenochoe on the bedsheet (80 photos):

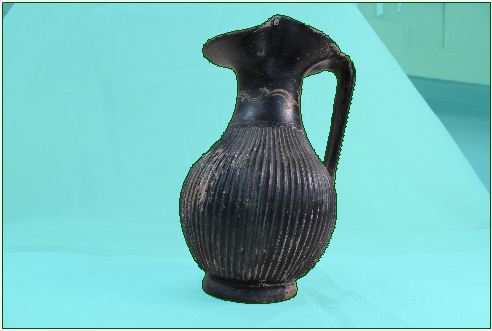
This dataset doesn't contain the photo of the background without the object, because the photos were taken from different positions and with different view angles, and as a result, the photos observe different parts of the background. It is enough to mask the background with Intelligent Scissors on only two photos - a photo with the bedsheet's upper part and the photo with the bedsheet's bottom part.
a single mask is not enough, because there is no single camera observing full bedsheet at once:
 |  |
 |  |
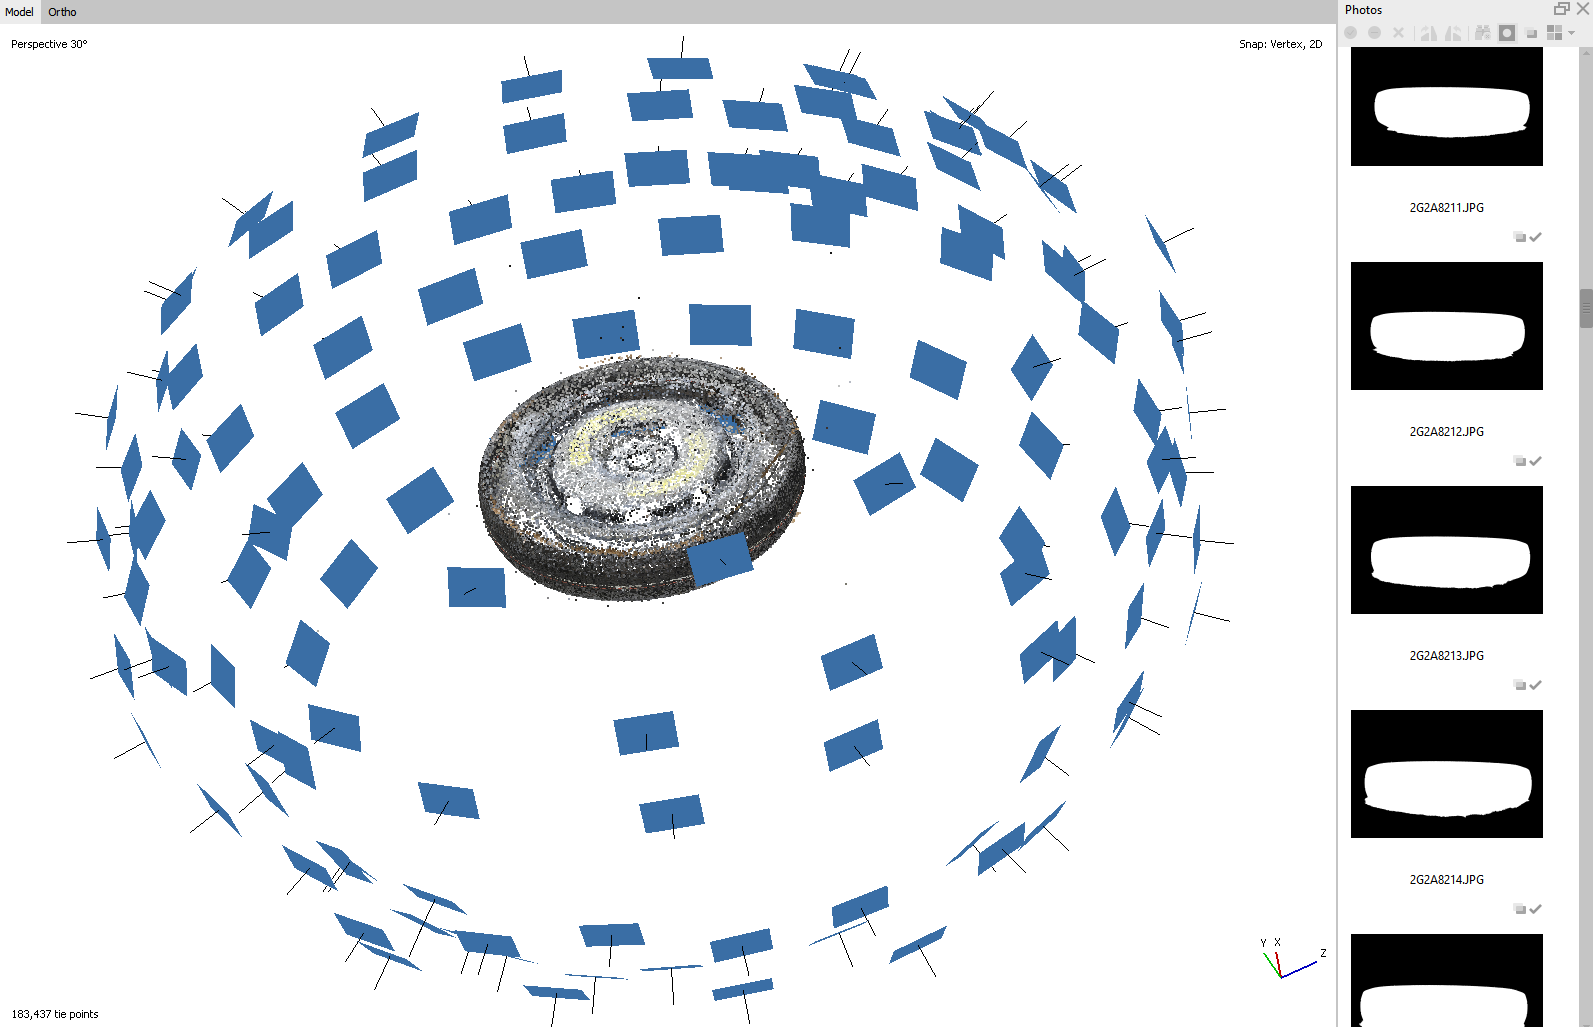
With just two masks and parameter Apply masks to Tie points all 80 photos were successfully aligned:
